A custom packing cube sample usually fails because the concept defines the appearance but not the construction. A stable sewn sample also needs finished dimensions, material behavior, mesh support, zipper geometry, seam allowance, corner radius, divider construction, load expectations and an agreed inspection method.
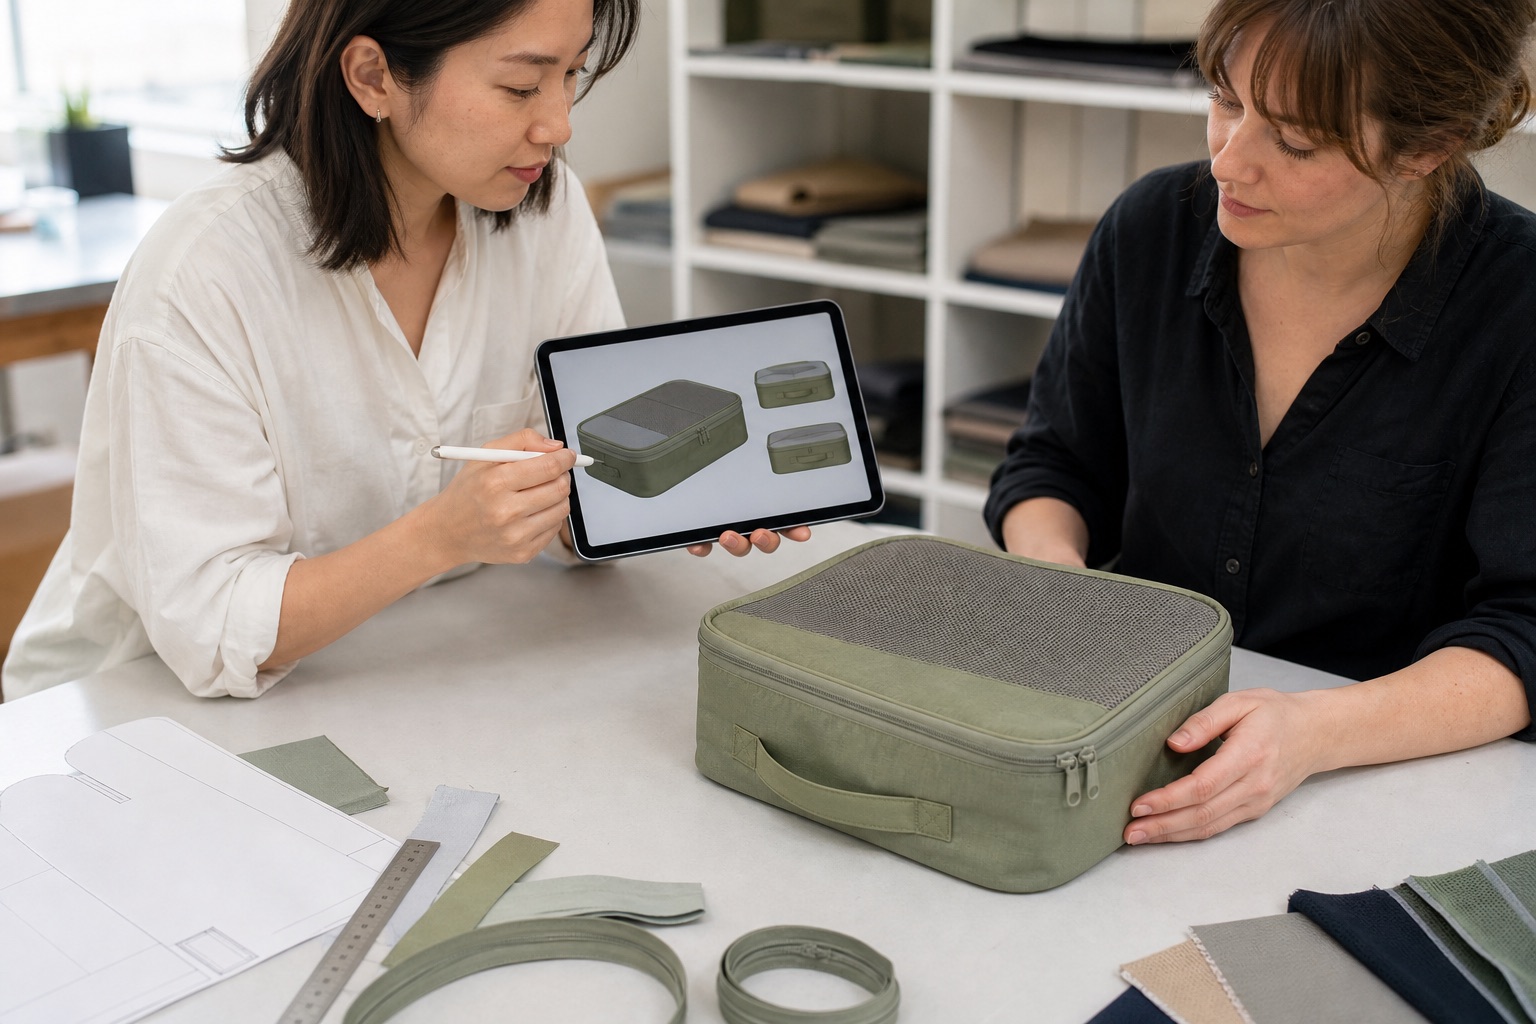
This matters especially for founders and small brands using AI renders. A render can communicate the color, shape and feature story quickly. It cannot decide how two materials feed through a sewing machine, where several layers should meet, how a divider will move when one compartment is full, or how a zipper end should carry stress.
The right response is not to discard the idea. It is to separate the product promise from the construction route, then freeze a manufacturable version before bulk production.
If you are developing a private-label set, use this guide together with LISO’s custom packing cube development page. The commercial page owns the product brief and RFQ; this article helps you diagnose the sample before approval.
Why can a packing cube look correct in a render but fail as a sample?
Because a render shows surfaces, while production needs relationships between surfaces. The sample maker must know how every panel, zipper, mesh section, binding and divider connects—and how those connections behave when the cube is filled, pulled, folded or washed.
A useful render may show:
- the overall shape and proportions;
- the intended color story;
- the number of visible openings;
- the rough mesh area;
- handle and logo placement;
- the desired clean/dirty or wet/dry feature.
But it may hide:
- the finished internal dimensions of each compartment;
- seam allowance and turn allowance;
- the fabric face, backing, coating and finished weight;
- whether the mesh stretches differently from the body fabric;
- the zipper gauge, tape width, slider clearance and end construction;
- where a divider is fixed, flexible or expandable;
- whether the bottom needs support;
- how the product should look when loaded;
- what
wet/dryis expected to mean in an actual check; - which details must remain when the target quantity and cost are considered.
This is why the first development conversation should translate the visual into a specification. AI is not the failure. The failure is treating an image as a complete technical pack.
What are the most common packing cube sample failure routes?
The recurring routes are not random: they occur where different materials, movements or loads meet. For packing cubes, that usually means the mesh-to-fabric seam, the zipper edge, the zipper-end corner, the divider corner and any handle or bottom support point.
| Visible sample problem | Likely construction question | What the buyer should check next |
|---|---|---|
| Wavy zipper edge | Are the plies feeding evenly? Is thread or presser-foot tension too high? | Compare the sewn edge with the approved pattern and check zipper movement |
| Center panel bulges | Is the seam drawing the perimeter inward? Is the panel allowance correct? | Lay the empty sample flat, then repeat after loading |
| Mesh looks stretched or twisted | Does the mesh extend or shrink differently from the body fabric? | Compare the mesh before sewing, after sewing and after the agreed care check |
| Mesh edge frays | Was the edge bound, overlocked or otherwise controlled? | Inspect cut edges and the complete mesh perimeter |
| Corner opens or bursts | Are too many layers and load paths concentrated at one sharp point? | Inspect zipper ends, divider corners and bottom corners under realistic fill |
| Divider collapses into the dry side | Is the divider too movable or too lightly supported? | Fill both sides in unequal proportions and observe the divider position |
| Dampness transfers between sides | Where can moisture travel: coating, seam holes, zipper teeth, junctions or bottom? | Define a project-specific transfer or splash check before approval |
| Sample stands poorly when filled | Does the structure need a bottom insert, local support or different fabric hand? | Approve the loaded shape, not only the empty tabletop appearance |
The table is a diagnosis map, not a list of universal defects. One visible symptom can have several causes. A wavy edge, for example, can come from thread tension, fabric feed, component mismatch, pattern allowance or operator handling. The correction must match the observed failure.
Should the first sample use a regular cube or a double-sided clean/dirty structure?
Choose the structure from the separation job, not from the number of features in a render. A regular cube is simpler and lighter. A double-sided cube can separate contents, but it adds another opening, a divider and more stress intersections.
The consumer market confirms that several clean/dirty routes can work. Thule’s clean/dirty cube uses a floating TPU divider so capacity can shift between the two sides. Eagle Creek’s clean/dirty cube uses an internal divider and separate organization logic. These are useful market references, not specifications that should be copied without checking fit for a brand’s own use case.
LISO has worked with four general routes:
| Structure | How it works | Main advantage | Main development risk |
|---|---|---|---|
| Two independent zippered compartments | Each side has its own opening and contained volume | Clear user logic and easy access | More zipper length, corner intersections and sewing operations |
| Movable, removable or foldable divider | The divider shifts as the volume on each side changes | Flexible capacity | A light divider can collapse toward the other side |
| Fixed sewn divider | The divider is anchored around its perimeter | Stable separation | Less flexibility when one side is much fuller than the other |
| Fixed main division with partly flexible or expandable area | Stable anchoring plus controlled volume adjustment | Balances separation and capacity | Requires careful patterning and clean multilayer junctions |
For many projects, the fourth route is a practical direction: keep the main division stable, allow controlled movement where needed, and use two openings that match the user journey. That is not automatically the best route for every order. The buyer still has to define what goes on each side, how full each side may become, and whether the cube must fold flat when empty.
Does “wet/dry” mean the compartment is waterproof?
No. Wet/dry describes the intended separation function; it does not prove waterproof performance. The actual result depends on the divider, body fabric, coating or lamination, seams, needle holes, zipper construction and how the finished product is tested.
A wet-zone project may evaluate materials such as:
- PVC-coated Oxford;
- TPU-laminated fabric;
- waterproof nylon;
- a double-sided water-resistant divider construction.
The dry zone may use routes such as 210D nylon, a polyester lining or lightweight Oxford. Mesh may be polyester mesh or sandwich mesh. Zipper edges may need binding or webbing reinforcement. These are project options, not a fixed LISO bill of materials.
An ordinary zipper can admit water through or around the teeth. Depending on the use case, a buyer and supplier may compare:
- a waterproof or water-resistant zipper route;
- a regular zipper protected by a storm flap;
- a dual-opening construction supported by a water-resistant lining;
- a separate wet pouch instead of a more complex cube.
Travel communities show why the choice is not universal. Some travelers like one clean/dirty cube; others prefer a separate dry bag because it is easier to isolate damp or muddy items. That disagreement is valuable product-development evidence: the intended contents and user behavior should select the structure.
For a relevant LISO project, the development check may place damp items such as a towel, swimwear or slippers in the intended compartment for an agreed static period, inspect transfer around the zipper, and check the coating, seam holes, material junctions and bottom. The time, item condition and pass criteria must be agreed for the project. This is an internal development check, not a certification or universal waterproof test.
Why does mesh pucker, stretch or fail at the seam?
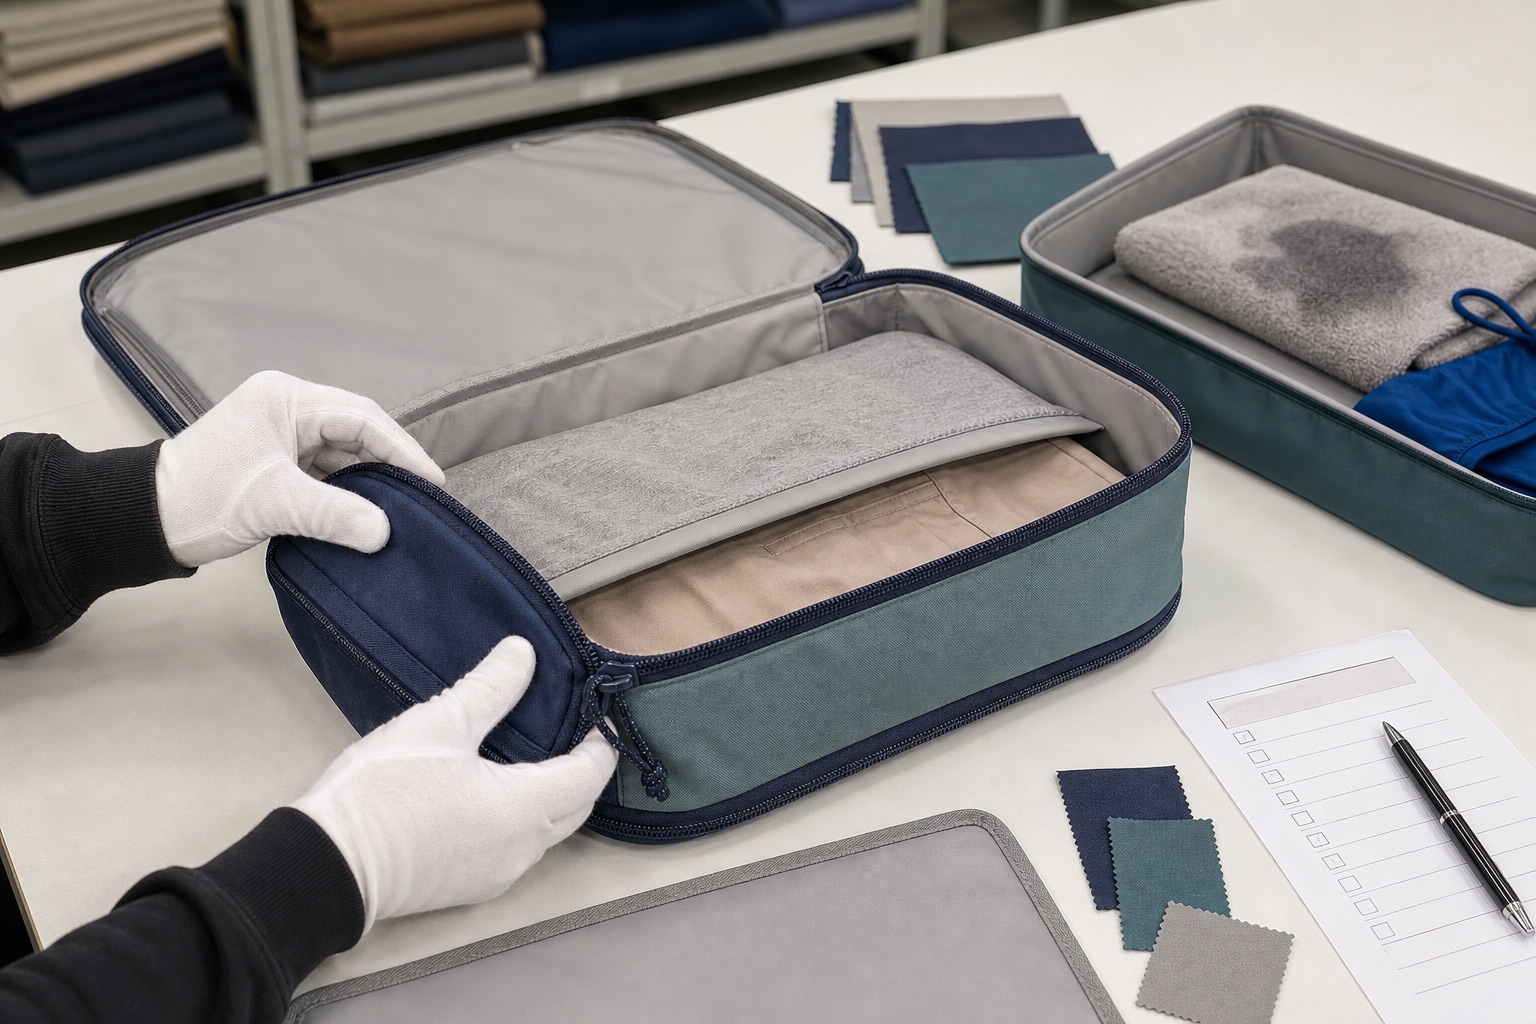
Mesh problems usually come from material mismatch, uncontrolled feeding, edge finishing or too much unsupported area. The mesh can look flat before sewing and become wavy only after it is joined to a more stable body fabric.
LISO has encountered several routes:
- The mesh stretches during sewing. If the upper and lower plies do not feed at the same rate, the stitches lock the mismatch into the seam.
- The needle damages the mesh yarn. A needle or stitch route that is too aggressive for the mesh can enlarge holes or break yarns.
- The cut edge is not controlled. A poorly bound, locked or heat-controlled edge can fray during handling or washing.
- The mesh and Oxford construction change differently. Different relaxation or shrinkage behavior can distort the panel after sewing or after a care check.
- A large mesh panel has no local support. The panel may sag, twist or concentrate load at the corners.
- Operator handling stretches one component. Pulling or holding back one ply can create a visible wave even when the materials are acceptable.
This is consistent with Coats’ seam-puckering guidance, which explains that puckering can combine fabric structure, seam construction, thread and needle size, tension and feed. The American & Efird seam-quality bulletin also distinguishes feed puckering, tension puckering and yarn displacement.
Corrections LISO has used or evaluated include:
- checking or pre-conditioning the mesh and body fabric before final cutting;
- binding or overlocking the mesh edge;
- choosing a suitable needle, thread and stitch length;
- reducing excessive presser-foot pressure and controlling the feed;
- using synchronized feeding when the construction needs it;
- avoiding one large unsupported mesh window;
- adding local anchor points or smaller vertical divisions;
- selecting a supported polyester mesh or sandwich mesh when the use case needs more stability.
The correct fix is not “use stronger mesh” in isolation. A heavier mesh can still wave if it is fed poorly, and a stable mesh can still fail if the edge or corner is not designed correctly.
Why do zipper edges become wavy or the center panel bulge?
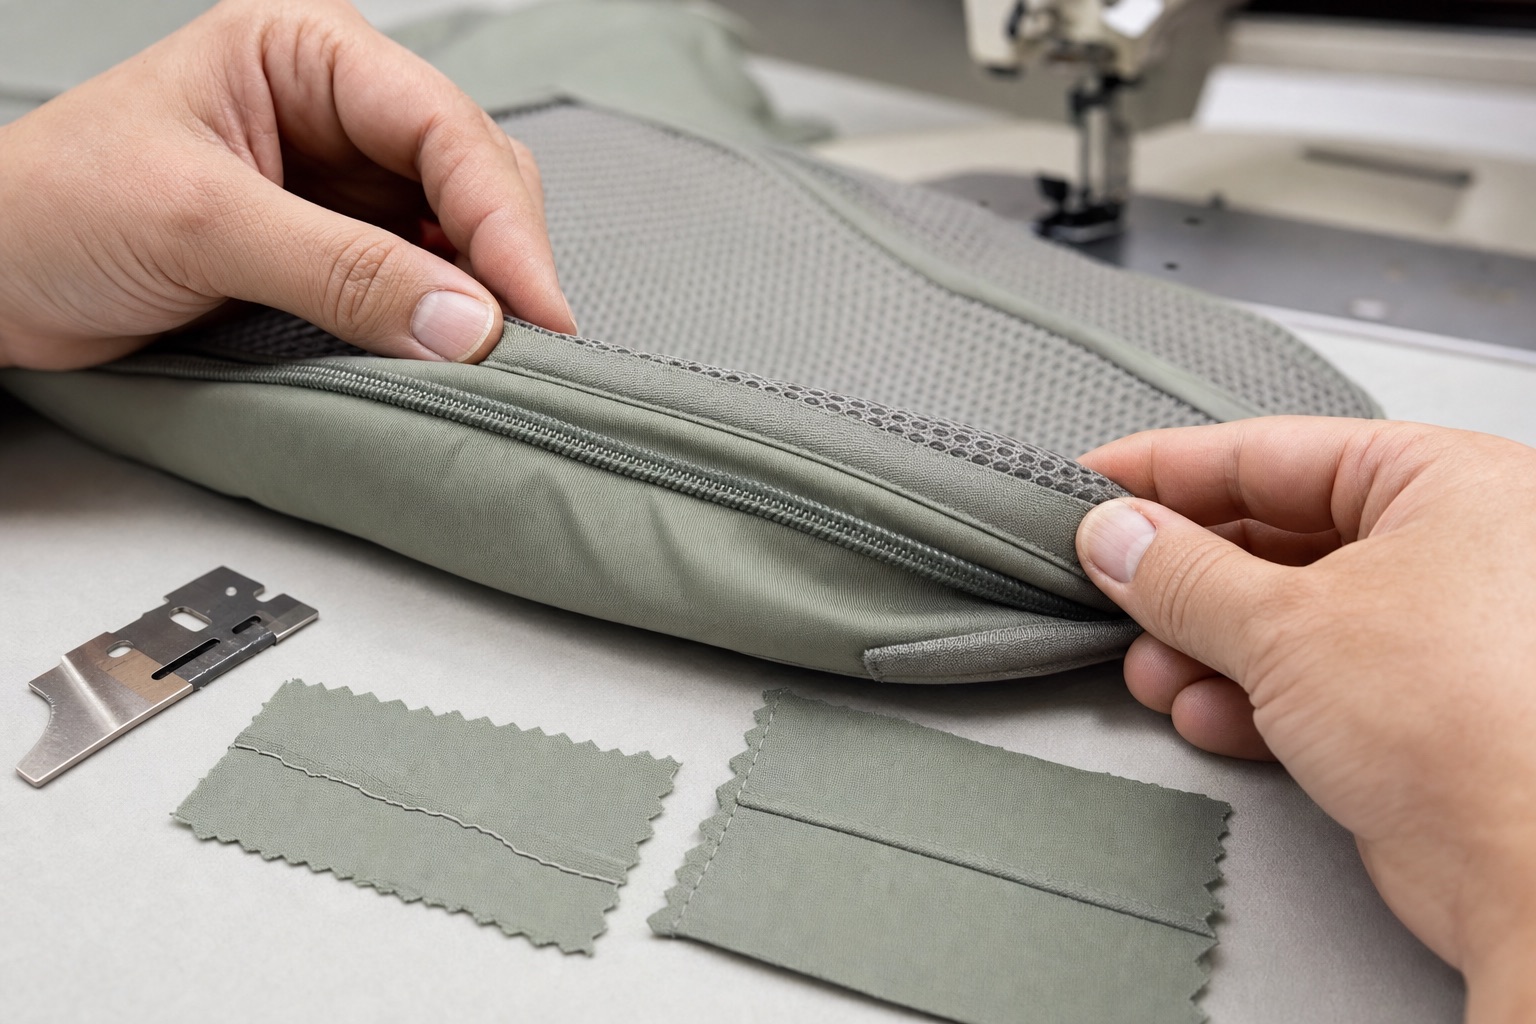
The stitched perimeter can pull the panel out of its intended geometry. Excessive thread tension may gather the seam; unequal feeding may leave one ply effectively longer; insufficient or excessive panel allowance may force the center to rise; and a zipper tape can behave differently from the face fabric.
This problem is important because the empty sample may still look acceptable from one angle. Check it in three states:
- empty and laid flat;
- filled to the intended use volume;
- opened and closed repeatedly around the corners.
YKK’s zipper sewing guidance advises leaving enough clearance for the slider and controlling fabric near the elements so the slider does not catch. It also recommends reinforcement around stop areas in relevant constructions. For a packing cube, the exact spacing and reinforcement must follow the selected zipper and pattern rather than a copied universal number.
If the edge is already wavy, do not hide it by pressing the sample and approving the photograph. Review:
- needle and bobbin thread balance;
- presser-foot pressure and feed timing;
- whether the operator stretched either component;
- zipper-tape position and slider clearance;
- panel and seam allowance;
- the number of layers at the corner;
- whether the filled product adds excessive zipper load.
Why do packing cube corners burst?
Corners burst when pull, fill pressure and multilayer stiffness meet at one concentrated point. The highest-risk packing-cube locations are often zipper-end corners and wet/dry divider corners because opening force, internal volume and turning stress arrive together.
Other sensitive points can include:
- handle roots;
- mesh-to-bottom corners;
- the four bottom corners;
- pocket-opening corners;
- intersections where zipper tape, divider, mesh, binding and body fabric stack together.
LISO’s real correction routes can include:
- increasing the seam allowance to an appropriate level without creating excessive bulk;
- binding the edge;
- adding a bartack at a selected zipper end, handle root or divider corner;
- changing a sharp 90-degree turn to a workable curve;
- adjusting stitch length;
- using a second seam or double-needle route at a selected load point;
- adding a bottom insert or local support when the cube must hold a stand-up shape;
- staggering intersections so every layer does not terminate at the same point.
Reinforcement is not simply “more stitching.” Too many stitches in a small area can perforate or stiffen a lightweight material. The reinforcement route must match the material, layer count and expected load.
How should a buyer compare Oxford, polyester and nylon options?
Compare the complete fabric construction, not three labels as if they were equivalent categories. Polyester and nylon describe fiber families. Oxford describes a woven construction and is often made from polyester, although other fibers are possible.
Ask for the actual fabric specification:
- fiber composition;
- yarn size or denier where relevant;
- weave or ripstop construction;
- finished fabric weight and tolerance;
- coating or lamination;
- surface finish and hand;
- color and print route;
- relevant care and performance checks.
For packing cubes, a lighter nylon or polyester construction may fold smaller. A more substantial Oxford route can help shape or abrasion resistance, but may add bulk and make a small rounded corner harder to turn cleanly. A coating or lamination can improve one function while changing hand, needle penetration, folding marks or sewing behavior.
The material route must therefore follow the feature hierarchy. If the top priorities are low packed volume and light hand, do not begin with a heavy stand-up construction. If the top priority is a stable double-sided organizer, do not remove every support layer simply to hit the lightest possible sample.
For a deeper explanation of why one material label cannot predict the finished bag, see LISO’s 600D vs 900D travel bag guide.
How should a founder turn an AI packing cube render into a manufacturable brief?
Keep the user promise, then simplify or substitute the hidden construction. The goal is not to reproduce every visual detail literally. It is to produce the same useful experience with a repeatable sewing and assembly route.
Consider this illustrative composite, built from recurring development discussions rather than one verified customer project:
A founder’s render shows a very light, low-cost packing cube with two clean/dirty compartments, a large unsupported mesh window, two independent zippers, a fully movable divider, a stand-up body and sharp square corners.
The conflicts are clear only after the image becomes a pattern:
- the thin full-size mesh has little support;
- the divider can collapse when one side is full;
- the wet-side zipper has no defined transfer-control route;
- the unsupported bottom conflicts with the stand-up shape;
- the sharp corners concentrate several layers;
- the lightness, water-control, structure and low-cost requirements compete with one another.
A manufacturable compromise may keep the two-side user story while changing the details:
- use supported polyester mesh or reduce the mesh to controlled areas;
- add local divisions or anchor points;
- use a semi-fixed divider rather than an uncontrolled floating sheet;
- evaluate a water-resistant zipper or protective flap for the intended wet zone;
- add local bottom support or double the body construction where needed;
- use curved corners and selected bartacks;
- remove decorative operations that do not improve the user promise.
This is not evidence that every buyer accepts the same compromise. It shows the decision method: rank the promised benefits, expose the conflicts, compare feasible constructions and record the buyer’s approved trade-offs.
What should be frozen before approving a pre-production sample?
Freeze the structure, materials, dimensions, workmanship route, inspection points and packing together. Approving only the exterior photograph leaves too many variables open for bulk production.
Product definition
- intended user and channel;
- regular or clean/dirty construction;
- contents for each compartment;
- finished external and usable internal dimensions;
- set composition and nesting order;
- loaded-shape expectation;
- folding or storage expectation when empty.
Bill of materials
- body fabric and lining;
- mesh type and mesh area;
- divider and any coating or lamination;
- zipper type, size, slider and puller;
- binding, webbing and reinforcement;
- bottom insert or support;
- label, print, patch or other branding;
- retail and transport packaging.
Workmanship route
- seam and edge finish;
- mesh edge control;
- zipper attachment and slider clearance;
- corner radius and layer order;
- divider anchor points;
- bartacks or other local reinforcement;
- stitch appearance and allowed variation.
Approval checks
- dimensions and overall shape;
- zipper opening and closing;
- stitching and edge finish;
- mesh deformation, fraying or damage;
- divider position and puncture risk;
- loaded shape;
- project-specific damp-item or splash check when relevant;
- handle and strap attachment where present;
- packaging fit and assortment;
- post-wash change if washing is part of the intended use.
For relevant straight sewn seams, ISO 13935-2:2026 describes a grab method for maximum force to seam rupture, but its published scope does not automatically cover curved seams or coated fabrics. For zippers, ASTM D2061 includes several strength methods and explicitly notes that no single test determines suitability for every end use. These standards illustrate why the buyer must select applicable methods and acceptance values; they are not universal packing-cube certifications.
What can final inspection catch—and what must be solved earlier?
Final inspection can catch visible workmanship and specification errors, but it cannot redesign an unstable product. Structure risk must be reduced during sampling.
LISO’s pre-shipment inspection scope can include:
- fabric defects, color and visible damage;
- zipper movement;
- skipped stitches, unstable seams and thread cleanliness;
- mesh damage, fraying or stretching;
- divider displacement, holes or visible transfer risk;
- hardware and handles;
- dimensions;
- packaging, quantity and assortment.
This can identify a broken zipper, damaged mesh, wrong dimension or packing error before shipment. It does not prove long-term durability by itself. Durability risk is better controlled through the sample structure, relevant wet or wash checks, realistic loading and a buyer-approved acceptance plan.
LISO can also keep project records such as before/after sample photos, wet-zone check photos, mesh correction comparisons, corner reinforcement photos, dimensions, zipper checks, wash observations and packaging checks. Customer-specific records remain confidential. A buyer can request an agreed photo list for its own project—for example, overall front and back, mesh seam, zipper end, divider, corner reinforcement and packed set—plus a wet-zone photo or video when relevant.
What should a buyer include in a packing cube RFQ?
Send enough information to price and sample the construction, not only the logo. A useful RFQ should include:
- target buyer, retail channel and market;
- regular, clean/dirty or another structure;
- intended contents for each side;
- finished dimensions and set composition;
- target material hand, weight direction or reference swatch;
- mesh area and visibility requirement;
- zipper and divider expectations;
- colorways and branding method;
- packaging and assortment requirements;
- target quantity range;
- applicable wet, wash, load or zipper checks;
- the features that may change and the features that must not change.
The last item is especially important for a founder. If the supplier knows which benefit is non-negotiable, it can simplify the hidden construction without weakening the product story.
To turn this checklist into a sample brief, review LISO’s custom packing cube options and RFQ route. For adjacent organizers and travel soft goods, see the Travel Bags & Organizers hub.
Frequently asked questions
Can a factory make a packing cube directly from an AI image?
An AI image can start the discussion, but it is not enough for repeatable production. The factory still needs dimensions, materials, panel and divider construction, zipper route, seam allowance, branding, packaging and approval checks. Use the image as visual intent, then create a specification and change log.
Is a double-sided packing cube always better than two separate cubes?
No. A double-sided cube can keep clean and dirty items in one footprint, but it adds zipper, divider and corner complexity. Two separate cubes or a dry bag may be better when the wet-item risk is higher, capacity changes significantly or the buyer wants simpler care.
Does a waterproof fabric make the wet side waterproof?
No. Water can transfer through zipper teeth, needle holes, seams, junctions or an unprotected bottom even when the face material resists water. Define the finished-product check and acceptance criteria for the intended use.
What is the first thing to inspect on a mesh packing cube sample?
Inspect the complete mesh perimeter and zipper corners, not only the center of the mesh. Look for waves, stretch, damaged yarns, fraying, unequal feeding and unsupported areas. Repeat the check with the cube loaded.
Why does a zipper work when the cube is empty but stick when it is full?
Filling changes the load on the zipper tape, corners and slider path. The product may be overfilled, the zipper may lack clearance, or the panel and corner construction may distort under load. Approve zipper movement in the intended filled state.
Should every packing cube use a fixed laboratory standard?
No single test covers every packing cube construction. Select methods that fit the actual fabric, seam, zipper and use case, then state the sample identity and acceptance values. Do not use a standard number as a substitute for an agreed product specification.
Conclusion
A successful packing cube sample is not the most literal copy of a render. It is the construction that preserves the intended user benefit and can be repeated in bulk.
Start by choosing the correct regular or clean/dirty structure. Then control the material pairings, mesh support, zipper path, corner geometry and divider. Approve the loaded product and relevant transfer or care checks, not only the empty exterior. Finally, freeze the complete bill of materials, workmanship route, packaging and inspection record before production.
That process gives a founder more—not less—control over the idea, because every compromise is visible, discussed and approved before it becomes a bulk-production problem.